
Getting started
utuwrk runs every hire and every departure as cards, each owned by one department and done in order. When one card finishes, the next owner is told. When one runs late, someone above them hears about it.
Create your organisation
Section titled “Create your organisation”-
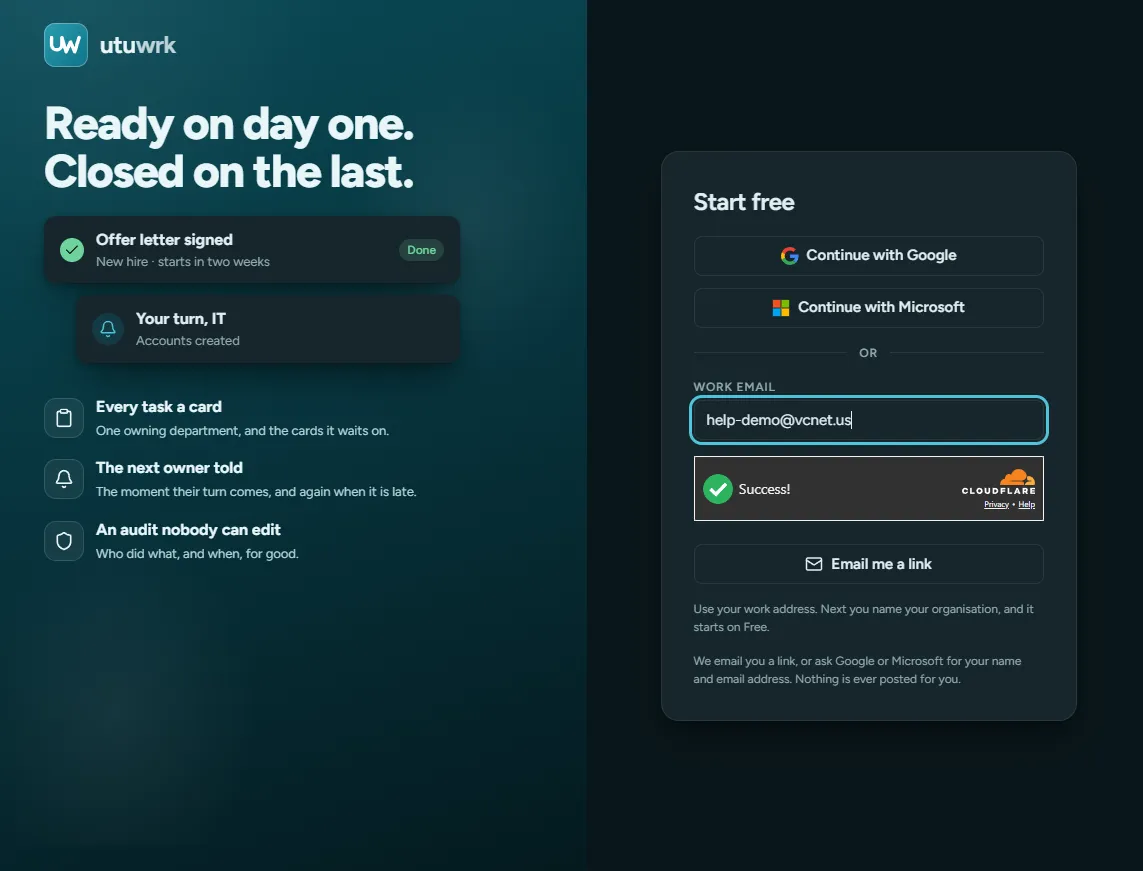
Go to app.utuwrk.com/signup. Choose Continue with Google or Continue with Microsoft, or type your work address and press Email me a link. A quick Cloudflare check runs first; it usually passes on its own.
-
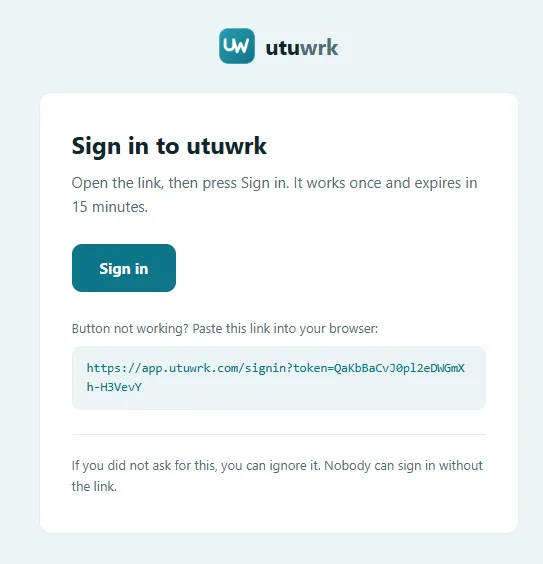
If you chose the emailed link, check your inbox. The link works once, for 15 minutes.
-
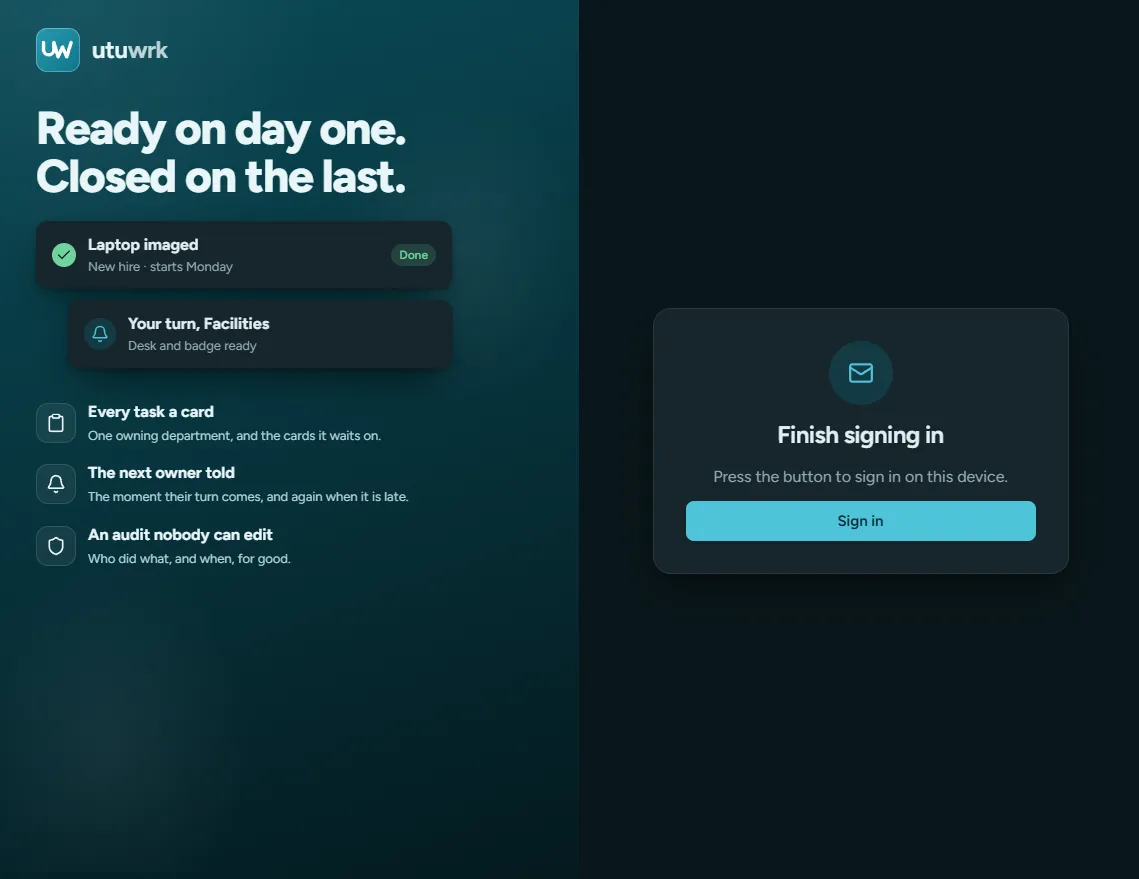
Open the link and press Sign in. The extra press is deliberate: some mail scanners open links on their own, and this stops them signing in for you.
-
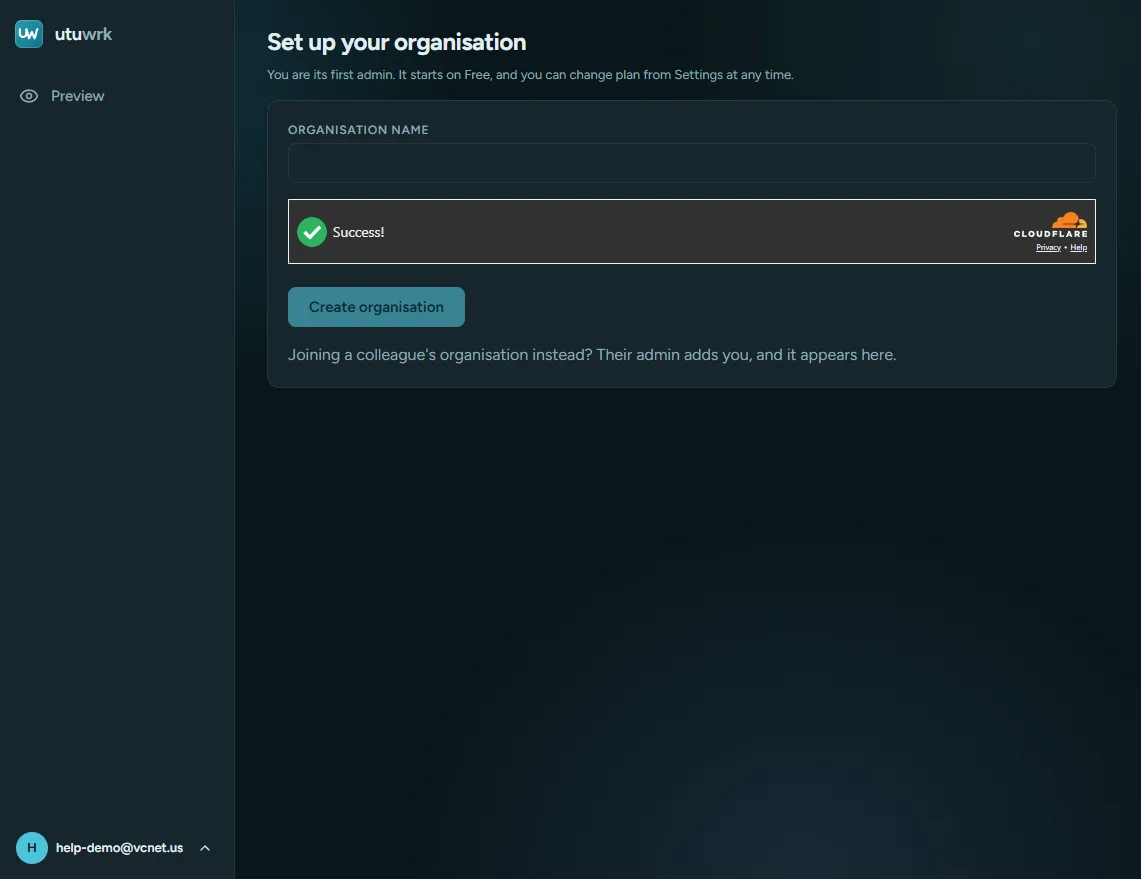
Name your organisation and press Create organisation. It starts on the free plan, with you as its first administrator.
-
The setup wizard asks about your sites and departments, takes your people as a pasted or uploaded list, sets who does each department’s cards, and tailors the starter templates from a few questions.
-
Start your first onboarding: pick the person, the site, the template and the start date. utuwrk counts every deadline from that day.
Joining a colleague’s organisation instead? Their administrator adds you, and it appears when you sign in.
Every organisation starts on Free. An administrator upgrades from Settings, which opens a Stripe Checkout, and changes the plan or card, or cancels, in Stripe’s customer portal. Plans are listed at utuwrk.com.
Whatever your plan, an offboarding always starts, and your data can always be exported.
Leaving
Section titled “Leaving”An administrator can close the organisation from Settings. It stays readable and exportable for 30 days, and can be reopened during that time. Then it is permanently deleted, including its audit log. Closing stops a paid plan from renewing.